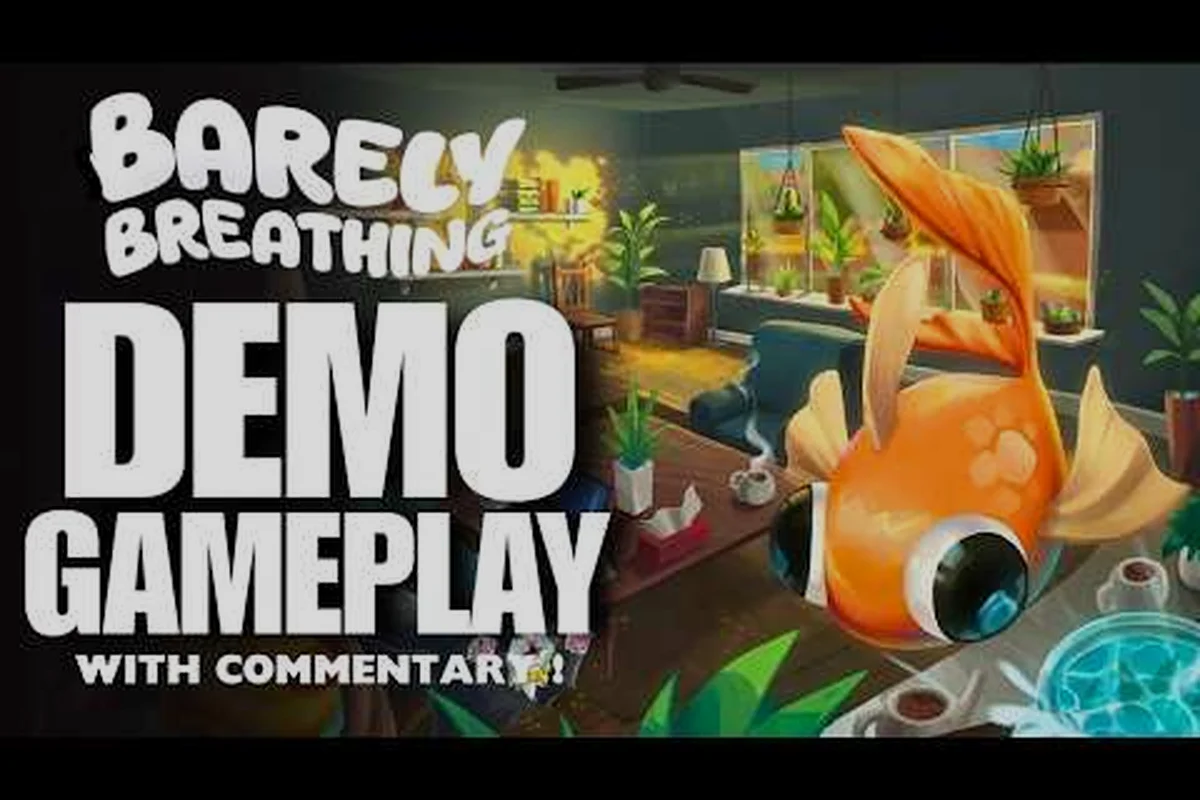
The living room demo for Barely Breathing packs more physics-based head-scratchers into twenty minutes than most full-length puzzle games manage in five hours. This Barely Breathing all puzzles guide walks you through every brain-teaser in the current demo build, from the opening water glass conundrum to the secret teaser that appears after the credits roll. If you have been stuck on a specific challenge or simply want to make sure you have not missed any optional interactions, the solutions below cover every room, object, and environmental puzzle currently available.
The demo, which players can grab directly from the Barely Breathing Demo page on Steam, represents the living room section of the full game and takes roughly ten to twenty minutes to complete depending on how thoroughly you explore. Since the developers have confirmed that all screenshots and gifs shown in the store description are playable within this demo, you can expect every interaction described here to work in the current build. The puzzles range from simple object manipulation to multi-step sequences that require you to think about water flow, momentum, and even temperature.
Understanding the Core Physics Systems Behind Every Puzzle
Before diving into specific solutions, you need to understand the three physics systems that power every challenge in this demo. The game treats water, objects, and heat as interconnected systems, meaning that actions in one area often produce unexpected results elsewhere. The dynamic puddle system reacts to the environment realistically, so water spilled on a flat surface spreads differently than water poured onto a slope or absorbed into fabric.
The surface spill direction always follows your camera orientation, which the developers confirmed in their demo update notes. This means that if you are struggling to direct water where you want it to go, try rotating your camera before pouring rather than moving your character. The circle animation that appears when you run out of breath serves as your primary feedback mechanism, telling you exactly when you need to find water or risk losing progress.
| Physics System | Primary Function | Key Interaction | Puzzle Relevance |
|---|---|---|---|
| Dynamic Puddles | Water spreads based on surface geometry | Puddle size grows with additional water | Used in water collection and transfer puzzles |
| Surface Spill Direction | Water flows toward camera orientation | Rotate camera to redirect flow | Critical for gutter and pot puzzles |
| Heat and Burning | Tea and coffee can actually burn | Flammable objects ignite on contact | Central to the burning tea challenge |
| Breath Circle | Shows remaining air supply | Circle closes as oxygen depletes | Timer mechanic for water-finding puzzles |
The water mechanic deserves special attention because it serves as both your life source and your primary puzzle-solving tool. According to community reports, the game tracks moisture on your character separately from environmental water, which means you can be standing in a puddle while still being dry enough to need another drink. The water mechanic deep dive explains this distinction in detail, but for puzzle purposes, remember that environmental water does not automatically refill your breath meter — you need to actively interact with water sources.
The Complete Walkthrough for Every Living Room Puzzle
The demo presents puzzles in a specific order, though you can approach some of them in different sequences depending on how you explore the space. This Barely Breathing all puzzles guide follows the natural progression most players encounter, but each solution works regardless of when you attempt it.
The Opening Water Glass Challenge
Your first puzzle involves a glass of water sitting on a side table that you need to knock over to create a puddle. The trick here is that simply bumping into the glass rarely works because the physics engine requires sufficient momentum. Instead, jump toward the glass at an angle so that your character's body clips the glass with enough force to tip it. Community testing suggests that approaching from the left side produces the most reliable results because the table's edge geometry helps redirect your momentum.
Once the glass tips, water spills across the table and drips onto the floor, creating a small puddle. This puddle serves as your first water source, but it dries up quickly if you do not use it within about thirty seconds. The puddle mechanics here are worth studying because they teach you the game's core rule: water evaporates over time, so you must plan your route before you start splashing. For a deeper look at how puddles behave and how to maximize their lifespan, check out the puddle mechanics guide.
The Swinging Pot and Gutter Sequence
After the opening room, you encounter the swinging pots and flowing gutters that the developers highlighted in their demo update. These objects are not just set dressing — they form the core of the demo's most complex puzzle sequence. The swinging pots hang from ceiling mounts and move in predictable arcs, while the flowing gutters carry water from an unseen source across the upper walls.
To solve this sequence, you need to knock the pots down so they land in specific positions beneath the gutters. The timing matters because the pots swing at consistent intervals, and you can time your jump to hit them at the peak of their arc for maximum displacement. Once a pot lands under a gutter, water collects in it, and you can then tip the pot to pour water exactly where you need it.
| Puzzle Step | Action Required | Common Mistake | Correct Approach |
|---|---|---|---|
| 1 | Locate the first swinging pot | Rushing the jump | Wait for the pot to reach its highest point |
| 2 | Knock pot under the gutter | Hitting pot too early | Approach from the side, not directly underneath |
| 3 | Wait for water collection | Moving pot before it fills | Give the pot 5-7 seconds to fill completely |
| 4 | Tip pot toward the target | Pouring too quickly | Tilt gradually to control water direction |
| 5 | Repeat for the second pot | Forgetting the first puddle | Reuse existing puddles when possible |
The spider enemy appears during this sequence and will send you flying if you get too close, which can reset your pot positioning. According to player reports, the spider follows a predictable patrol pattern, so you can time your movements between its passes. If you get knocked down, check whether the pots have reset to their original positions — sometimes they stay where you left them, which saves you from repeating the entire sequence.
The Burning Tea Challenge
The most talked-about puzzle in the demo involves tea that actually burns, a feature the developers confirmed in their update notes. You will find a teacup on a table with steam rising from it, and nearby objects that can catch fire if the tea splashes onto them. The challenge here is that you need to use the burning tea as a tool without setting the entire room ablaze.
The solution requires you to carefully tip the teacup so that a small amount of tea spills onto a specific flammable object, creating a controlled fire that unlocks a hidden passage or reveals a secret. The key is to use the camera orientation to control the spill direction, just like with water, but with the added complication that the tea is hot enough to ignite materials on contact. Community reports suggest that the fire spreads slowly, giving you roughly ten seconds to move through the revealed area before the flames become dangerous.
How to Make a Mess: Unlocking Hidden Interactions
The demo rewards players who embrace chaos, and the mess system tracks how much environmental destruction you cause. While the full game will likely expand this system, the demo includes several hidden interactions that only trigger after you have knocked over enough objects or spilled enough liquid. This section of the Barely Breathing all puzzles guide focuses on those optional challenges and how to trigger them.
The Spill Everything Achievement Path
If you are following the barely breathing achievement guide, the mess system is where you will spend most of your time. The demo tracks three categories of mess: knocked-over objects, spilled liquids, and burned materials. Each category has a hidden threshold, and crossing that threshold triggers a unique response from the environment.
| Mess Category | Objects Counted | Threshold | Reward |
|---|---|---|---|
| Knocked Objects | Books, vases, chairs, frames | 15 items | Hidden message appears on wall |
| Spilled Liquids | Water, tea, coffee puddles | 10 puddles | Extra water source unlocks |
| Burned Materials | Paper, cloth, wood surfaces | 5 fires | Secret room reveals itself |
To make a mess efficiently, focus on the bookshelves and decorative items scattered around the living room. Each bookshelf contains multiple books that count as individual objects, so knocking over a single shelf can add five or six items to your total. The vases are particularly valuable because they break into multiple pieces, and each piece counts toward the knocked-object threshold.
The Spider Interaction Secret
The spider that patrols during the pot and gutter sequence has a hidden interaction that many players miss. If you manage to knock a pot onto the spider's patrol path, the spider will stop and investigate the pot, giving you a window to move past it without getting knocked down. This interaction does not count toward the mess system, but it does unlock a small animation that the developers included as an easter egg.
According to community testing, the spider will also react if you spill water directly on it, though the effect is purely cosmetic. The spider shakes off the water and continues its patrol, but the animation is worth triggering at least once for the visual payoff. This interaction is entirely optional, so do not worry about missing it if you are focused on completing the main puzzle sequence.
How to Stay Wet: Managing Your Breath Meter
The breath meter is your constant companion throughout the demo, and learning to manage it effectively is the difference between smooth progression and frustrating restarts. The barely breathing how to stay wet question comes up constantly in community discussions, because the game does not explain the moisture system clearly at first. This section breaks down exactly how the breath meter works and how to keep it topped up.
Your breath meter depletes at a consistent rate, but certain actions drain it faster. Running depletes breath roughly twice as fast as walking, while jumping and climbing add additional drain on top of the movement penalty. The circle animation that appears when you run out of breath gives you a short grace period, but if you do not find water within about five seconds, you will collapse and need to restart from the last checkpoint.
| Action | Breath Drain Rate | Notes |
|---|---|---|
| Standing still | 1x (base rate) | Slowest drain, but still depletes |
| Walking | 1.5x | Standard movement penalty |
| Running | 2x | Fastest movement, highest drain |
| Jumping | 2.5x per jump | Adds to movement drain |
| Climbing | 3x | Highest single-action drain |
To find water efficiently, memorize the locations of all permanent water sources in the demo. The kitchen sink provides an infinite water source, but it is located at the far end of the level. The gutter system provides water at multiple points along its path, making it the most convenient source during the middle section. Puddles you create by knocking over glasses or pots are temporary, so treat them as bonus refills rather than reliable sources.
The how to stay wet strategy that most players adopt involves planning your route around water sources rather than trying to top up constantly. Since running drains breath faster, it is often more efficient to walk between water sources and save running for short bursts when you need to escape the spider or reach a time-sensitive puzzle element. The beginner guide covers this routing strategy in more detail, including optimal paths for the demo's layout.
Advanced Techniques and Secret Teaser Content
Once you have solved every puzzle in the main sequence, the demo still has a few surprises left. The developers confirmed that a secret teaser appears at the end of the demo, and finding it requires completing a specific set of actions. This section of the Barely Breathing all puzzles guide covers the advanced techniques you need to unlock everything the demo has to offer.
The secret teaser triggers after you have completed the main puzzle sequence and the credits have rolled. According to the demo update notes, the teaser shows content from a future section of the game, and it only appears if you have triggered the hidden interactions described earlier in this guide. Specifically, you need to have made a mess in all three categories (objects, liquids, and fires) and interacted with the spider at least once.
| Requirement | How to Complete | Verification |
|---|---|---|
| 15 knocked objects | Clear every bookshelf and table | Count items as you go |
| 10 liquid puddles | Spill every glass and pot | Use the camera trick to maximize spread |
| 5 burned materials | Use the tea on multiple targets | Check for charred surfaces |
| Spider interaction | Knock a pot onto its path | Watch for the investigation animation |
The teaser itself shows a brief glimpse of what appears to be a kitchen area with more complex water-based puzzles. Community reports suggest that the teaser hints at a time-of-day mechanic that will change the environment as you progress through the house, which would add another layer of complexity to puzzle solving in the full game. The developers have not confirmed a release date, but the teaser suggests that the full game will significantly expand on the systems showcased in the demo.
Frequently Asked Questions
What is the hardest puzzle in the Barely Breathing demo?
The burning tea challenge is the hardest puzzle because it requires precise camera control and timing. You need to tip the teacup at exactly the right angle to spill tea onto the flammable object without creating an uncontrolled fire. Most players need several attempts to get the angle right, so do not get discouraged if it takes a few tries.
How do I find water quickly when my breath is running low?
The gutter system is your best bet because it provides water at multiple points along its path. The kitchen sink is the most reliable source but requires the longest trip. Memorize the puddle locations you create during puzzle solving, since they can serve as emergency refills even though they evaporate over time.
Can I complete the demo without making a mess?
Yes, the main puzzle sequence does not require you to trigger the mess system. However, you will miss the secret teaser and several hidden animations. The mess system is entirely optional content that rewards thorough exploration, so you can skip it if you prefer a clean playthrough.
Does the spider respawn if I knock it down?
The spider does not respawn after being knocked down, but it does return to its patrol path after a short recovery period. The recovery takes about ten seconds, during which you can move past safely. The spider's investigation animation when it encounters a pot lasts longer, giving you more time to navigate around it.
Will the full game include more puzzles like these?
Now that you have completed every puzzle in the demo, which challenge gave you the most trouble? Share your experience in the comments below, and do not forget to check out the full puzzle solutions guide for additional tips and alternative approaches to each challenge.